BizTalk Web Service- IIS and Binding Settings Configuration
Please follows my following steps-
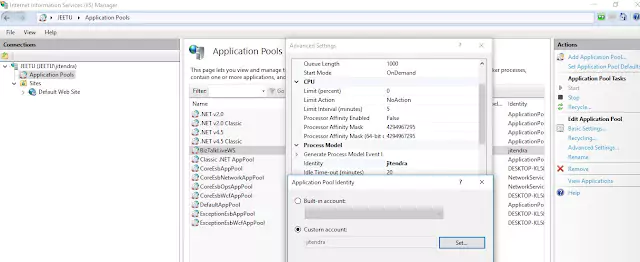
Step 1: As we discussed earlier, the IIS application pool your virtual directory runs under needs to be a member of the BizTalk Isolated Host Users group. To create a new application pool, press Windows+R and type ‘inetmgr’. Right-click ‘Application Pools’ and choose ‘Add application pool’. Name it ‘BizTalkLiveWS’ and click ‘OK’.
Step 2: Select ‘BizTalkLiveWS’ from the list and click ‘Advanced Settings’ from the right-side panel. Look for the ‘Identity’ property under ‘Process Model’ and click on the ‘…’ icon. This opens the ‘Application pool Identity’ popup window. Select ‘Custom account’ and enter the same username and password used in the BizTalk isolated host for the BizTalk web service application. Click ‘OK’ twice.
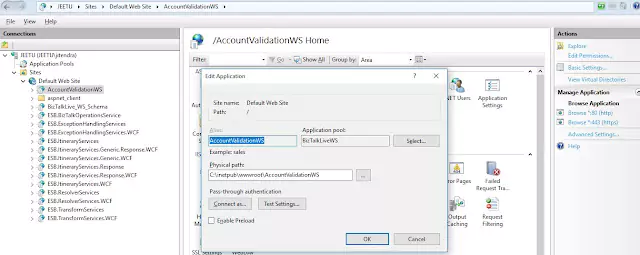
Step 3: Select the hosted website (‘AccountValidationWS’) from ‘Sites’ > ‘Default Web Site’. Click ‘Basic Settings’ from the right-side panel and then click ‘Select…’. Choose the ‘BizTalkLiveWS’ application pool and click ‘OK’. See the following picture for reference:
Step 5: Go to the website and double-click on SSL Setting. Check the Required SSL checkbox and select the Accept radio button for client certificates. Click Apply from the action in the right-side panel.
Step 6: Go to the website again and double-click on Authentication. Select windows authentication and click Apply from the action in the right-side panel.
Step 7: Right-click on the website and select Explore. Open Web.config in any editor and adjust the following settings: set httpHelpPageEnabled and httpGetEnabled to false, and set httpsHelpPageEnabled and httpsGetEnabled to true.
<serviceBehaviors>
<behavior name="ServiceBehaviorConfiguration">
<serviceDebug httpHelpPageEnabled="false" httpsHelpPageEnabled="true" includeExceptionDetailInFaults="false" />
<serviceMetadata httpGetEnabled="false" httpsGetEnabled="true" />
</behavior>
</serviceBehaviors>
Step 8: To configure IIS settings, click on Application Pool and choose the BizTalkLiveWS pool. Then, stop the pool and start it again from the right side action panel.
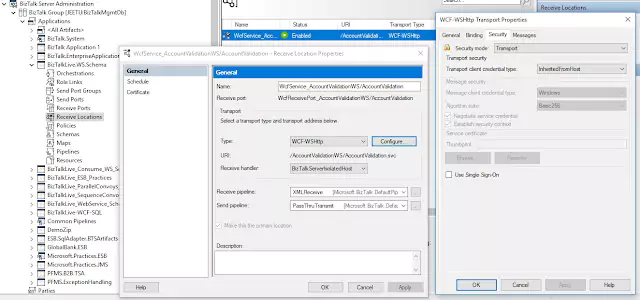
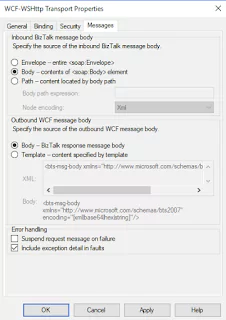
Step 9: Open the BizTalk Server Administrator Console and navigate to the receive location of the already deployed BizTalk Application for the web service. Leave everything default as it is, except for the security mode which should be set to Transport. Also, select “Transport client credential type” as “InheritedFromHost” as per your requirement. You can change the security mode based on your needs. Refer to the following picture for a better understanding:
Now that you have completed all the necessary steps, you can run your BizTalk application and test your BizTalk WCF web service.